Kubernetes Networking with Calico and ContainerLab
🎯 Learn Kubernetes networking hands-on! This repository provides a complete toolkit for deploying and experimenting with Calico CNI, ContainerLab topologies, and Kubernetes networking concepts
Perfect for:
- 🔬 Network engineers exploring Kubernetes networking
- 📚 Students learning CNI implementations and BGP routing
- 🛠️ DevOps practitioners understanding pod-to-pod communication
- 🌐 Security professionals studying network policies and micro-segmentation
Prerequisites
- AWS CLI configured with appropriate permissions
- Terraform (1.0+)
- Ansible (2.9+)
- SSH key pair in
~/.ssh/id_rsa(public key in~/.ssh/id_rsa.pub)
Getting Started
🎬 Video Walkthrough
Deploying the Lab Environment
-
Clone this repository:
git clone https://github.com/aadhilam/k8-networking-calico-containerlab.git cd k8-networking-calico-containerlab -
Download and place the Arista cEOS image:
- Follow the Downloading the Arista cEOS Image instructions above
- Place the downloaded
cEOS64-lab-4.34.0F.tar.xzfile in thecontainerlab/directory:cp ~/Downloads/cEOS64-lab-4.34.0F.tar.xz containerlab/
-
Run the deployment script:
chmod +x deploy.sh
./deploy.sh
The deployment script will:
- Provision a t3.2xlarge EC2 instance in us-east-1 using Terraform
- Configure the instance with Docker, ContainerLab, Kind, and kubectl using Ansible
- Copy lab files to the instance
- Establish an SSH session to the instance
Working with the Lab
Once connected to the EC2 instance:
- ContainerLab is available for creating network topologies
- Kind is available for creating Kubernetes clusters
- Docker is configured and ready to use
- The ubuntu user has passwordless sudo access
Lessons
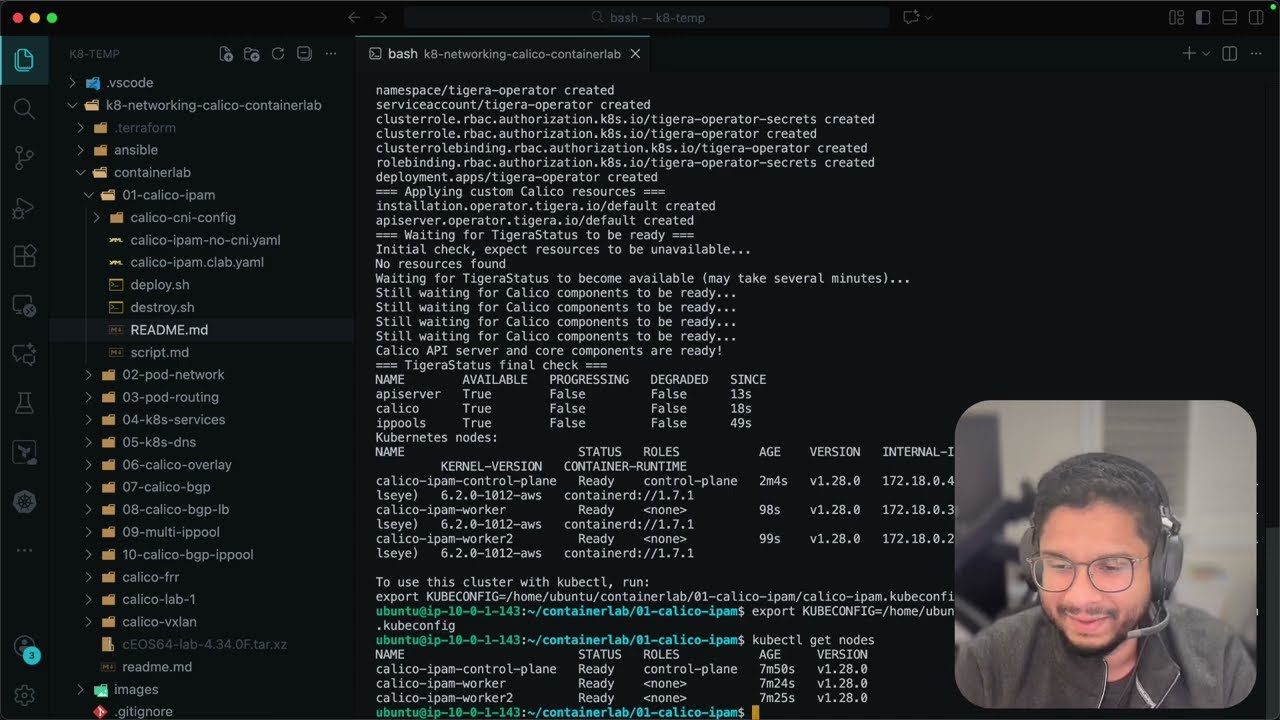
- Calico IP Address Management (IPAM) for Kubernetes
- Calico Pod Networking with Veth Pairs and Routing
- Calico Pod Routing Across Nodes
- Kubernetes Services - ClusterIP
- Kubernetes DNS
- Calico Overlay Networks
- Calico BGP
- LoadBalancer Type Service and BGP Advertisements
- Calico Multiple IPPools
- Calico Advertise IPPool Using BGP
- Kubernetes Headless Services
- Calico Network QoS - Bandwidth Limiting
- Calico WireGuard Encryption
- Calico IPv4 and IPv6 - Dual-Stack Networking
- Selective BGP Peering with Node Labels
- IP Reservations and Static IPs for Pods
- NodeLocal DNSCache
- MTU Configuration in Kubernetes with Calico
- Calico Ingress Gateway with Canary Deployments
- Transport Layer Security (TLS) with Calico Ingress
- Multi-Network using Multus and MACVLAN CNI
Infrastructure Details
- Instance Type: t3.2xlarge (8 vCPUs, 32GB RAM)
- Storage: 50GB GP3 SSD volume
- Operating System: Ubuntu 22.04 LTS
- Pre-installed Tools:
- Docker
- ContainerLab
- Kind (Kubernetes in Docker)
- kubectl
- jq, curl, tcpdump, bridge-utils, iproute2
Project Structure
container-labs/
├── ansible/
│   └── playbook.yml        # Ansible configuration for the instance
├── containerlab/           # ContainerLab topologies and configurations
├── images/                 # Documentation images
├── deploy.sh               # Main deployment script
├── destroy.sh              # Cleanup script
├── main.tf                 # Terraform infrastructure definition
├── variables.tf            # Terraform variable definitions
└── outputs.tf              # Terraform output definitions
Cleanup
When you're done with the lab environment, you can clean everything up:
chmod +x deploy.sh
./destroy.sh
This script will:
- Destroy all Terraform-managed resources (EC2 instance)
- Remove local temporary files
Notes
- The EC2 instance public IP is saved to
ec2_ip.txtfor easy reference - The ubuntu user is configured with passwordless sudo and Docker group membership
- Docker environment variables and completions are automatically loaded in the shell
Connection Requirements:
- Your SSH private key should be in
~/.ssh/id_rsa - The security group allows SSH access (port 22) from your IP
- The instance will have a public IP address for direct access
Troubleshooting Connection Issues:
# If you get permission denied, ensure your key has correct permissions
chmod 600 ~/.ssh/id_rsa

# Test connection with verbose output
ssh -v ubuntu@$(cat ec2_ip.txt)

# Connect using specific key file
ssh -i ~/.ssh/id_rsa ubuntu@$(cat ec2_ip.txt)
Downloading the Arista cEOS Image
Several labs in this repository (06-calico-overlay, 07-calico-bgp, 08-calico-bgp-lb, 09-multi-ippool, 10-calico-bgp-ippool) use an Arista cEOS (containerized EOS) switch image. You'll need to download this image before running those labs.
Steps to Download
-
Create an Arista Account (free):
- Go to https://www.arista.com/en/user-registration
- Complete the registration form and verify your email
-
Download the cEOS Image:
- Log in to your Arista account at https://www.arista.com/en/login
- Navigate to Software Downloads → cEOS-lab
- Or go directly to: https://www.arista.com/en/support/software-download
- Select cEOS-lab from the product list
- Download
cEOS64-lab-4.34.0F.tar.xz(or the latest available version)
-
Place the Image in the ContainerLab Directory:
- Copy the downloaded image to
/containerlab/directory:cp ~/Downloads/cEOS64-lab-4.34.0F.tar.xz containerlab/
- Copy the downloaded image to
-
Image Import (automatic):
- The
deploy.shscripts in the relevant labs will automatically import the image into Docker:docker import containerlab/cEOS64-lab-4.34.0F.tar.xz ceos:4.34.0F
- The
Note: The cEOS image is proprietary and cannot be distributed with this repository. You must download it directly from Arista with your own account.