Lab Setup
This section explains how you can deploy the individual labs for this learning series.
You need an EC2 instance or VM configured with containerlab. This repo provides a script to provision an EC2 instance with containerlab and other tools. 📖 Back to Main Labs | 🚀 Deploy Lab Environment
If you are using your own VM with containerlab, make sure you have cloned the repo (link below) to this machine prior to going through the rest of the steps in this guide. You will find a folder for each lesson and a deploy.sh script in each folder that will provision a lab for that lesson.
git clone https://github.com/aadhilam/k8-networking-calico-containerlab.git
The labs typically consist of:
- 3-node Kind cluster (1 control-plane, 2 workers)
- Calico CNI with IPAM enabled
- Pod CIDR: 192.168.0.0/16
- Block size: /26 (64 IPs per block)
- Two multitool DaemonSets (multitool-1 and multitool-2) and an nginx deployment with a cluster-ip service for testing pod to service connectivity
🎬 Video Walkthrough
Deployment
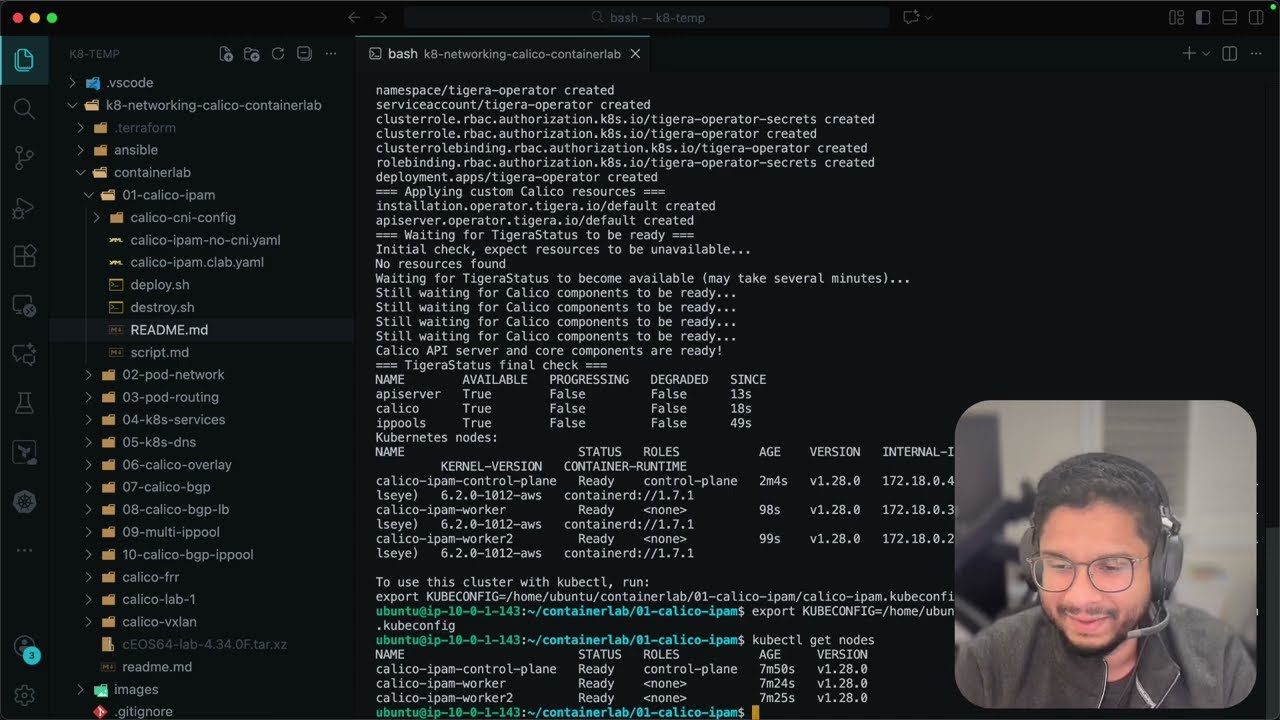
- ContainerLab Topology Deployment: Creates a 3-node Kind cluster using the
lab-name.clab.yamlconfiguration - Kubeconfig Setup: Exports the Kind cluster's kubeconfig for kubectl access
- Calico Installation: Downloads and installs calicoctl, then deploys Calico CNI components:
- Calico Operator CRDs
- Tigera Operator
- Custom Calico resources with IPAM configuration
- Test Pod Deployment: Deploys two multitool DaemonSets for connectivity testing and an nginx deployment with a cluster-ip service for testing pod to service connectivity
- Verification: Waits for all Calico components to become available before completion
Deploy the lab using:
cd containerlab/[lab-name]
chmod +x deploy.sh
./deploy.sh
Lab Cleanup
When you're finished with the lab, you can clean up all resources using the automated cleanup script:
chmod +x destroy.sh
./destroy.sh
The destroy script will:
- Delete the Kind cluster (k8s-dns) and all associated containers
- Destroy the ContainerLab topology if it exists
- Verify cleanup by checking for remaining containers and networks
- Clean up local files like generated kubeconfig files
- Optionally remove Kind images (asks for user confirmation)
(Optional) Manual Cleanup Steps
If you prefer to clean up manually, you can run these commands individually:
1. Destroy the ContainerLab Topology
sudo containerlab destroy -t [lab-name].clab.yaml
This command will:
- Stop and remove all containers (Kind cluster nodes)
- Remove virtual network links between containers
- Clean up the lab-specific Docker network
- Remove any ContainerLab-generated files
2. Verify Cleanup
Check that all lab containers have been removed:
# Verify no lab containers are running
docker ps | grep [lab-name]

# Check for any remaining ContainerLab networks
docker network ls | grep clab
3. Optional: Remove Kind Images
If you want to free up disk space, you can also remove the Kind node images:
# List Kind images
docker images | grep kindest

# Remove Kind images (optional)
docker rmi kindest/node:v1.28.0
4. Clean Up Local Files
Remove generated kubeconfig files:
rm -f [lab-name].kubeconfig
Note: The ContainerLab destroy command is safe and will only remove resources created by this specific lab topology. It will not affect other Docker containers or networks on your system.